Fixing your Fence

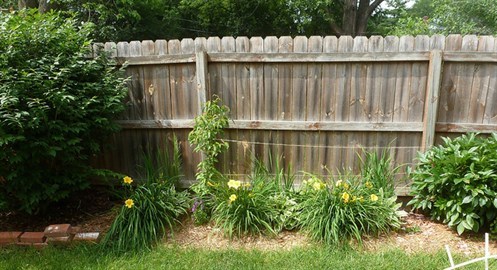
Over time, the elements are going to take their toll on your fencing; this can leave it looking battered and worn, and in desperate need of some attention and maintenance. Having a fence that’s past its prime isn’t just an aesthetic problem, you should consider replacing or fixing it as a matter of home security as well.
Depending on how bad it is, it’s generally more cost effective to simply repair sections of a fence than to replace the whole thing - and it’s a task that can be undertaken with relative ease. The first step is to identify which section of your fence needs replacing, and to get to work quickly, because should the panel or post fall, it’s going to take the rest of the fence with it.

Preferably work with somebody else in order to lend a hand with the heavy lifting, and you’ll need the following equipment:
Replacement fence posts or panels - preferably pre-treated for protection against the elements
Galvanised screws – that won’t rust and cause further problems
Fence post clips
String line and a spirit level to make sure everything is straight and lined up correctly
Support props (40cm – 1 metre thin cuts of wood)
Power drill or screwdriver
Hacksaw blade
Crowbar
Spade
Personal protective equipment such as goggles and gloves.
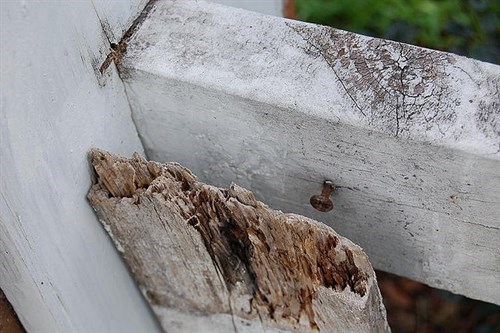
Once you have everything you need, it’s time to get started. The first thing you need to do is identify which part of the fence needs replacing. Damage to panels is quick and easy to spot, whereas your posts will need a quick wiggle in order to check if they’re loose or not.
Replacing the posts
If a fence post is wobbling, this may be due to either; not having enough of the post in the ground in the first place, excessive rot at the base, or not using enough concrete when first installing the fence.
Start by removing the panels either side of the post. If a panel is salvable and has been nailed in to the side of the post, take a hacksaw blade (wearing gloves) and carefully saw it free so that the panel can easily be removed without damaging it. If the panel needs to be replaced anyway, you can simply pry it free with a crowbar.
Once the panels are free, you need to dig the old fence post out with a spade, wiggling the post free as you do (be careful because at the base of the post there should be a sizeable lump of concrete – so get somebody to help).
Remove the old post and ensure that the hole for the new one is the correct size. A 6ft post needs a hole that is a minimum of 45cm deep, and wide enough to include a 15cm clearance around each side of the post.
Place the new post in the hole and line it up with the top of the fence and the other posts. Attach a string line (plum line) along the top of the posts, as well as along the bottom to ensure that everything is lined up nicely. Once you’re satisfied it’s lined up, use a spirit level to check that it’s perfectly vertical.
Now that the post is where it needs to be, you now need to secure it in place so you can set it in concrete. Screw in support props at enough of an angle either side of the post so that it stands up without you needing to hold on.
Make sure that the props are secure to the post as well as into the ground.
With the post properly secured it’s time to pour in the post mix. Post mix is quick drying cement that is specifically designed to mix right there in the hole. In terms of the water to mix ratio, post mix types do vary, so always refer to the instructions.
Apply gradually and keep checking the distance between the posts so that you’re sure that it hasn’t moved. Once the hole is full, use a trowel to angle the mix towards the post so that water doesn’t collect at the base, as this will only make the new post rot a lot faster. Leave to set for around 45mins.
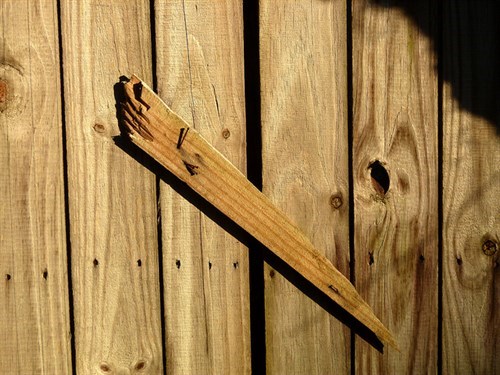
Replacing fence panelling
Now that the posts are fixed and set correctly, you can replace any panels that are past their prime. You should have already removed them before replacing the posts, so have the new ones ready to go.
Make a measurement on the fence post from the top down, as well as from the bottom up, and use that measurement for each side of the fence post that the replacement panel is going between.
Using those measurements, screw in four fence clips (or brackets) in to the posts on either side. Fence clips are a much better way of securing panelling, as they allow the quick and easy removal of panels that may need replacing in the future.
Now get somebody to help you and simply (and carefully) lift the fence panels up into the top clip, and slide the whole thing down into place. Then all you need to do is secure them by screwing the top and bottom into the fence clips.
Once you’ve finished and the panels are in, you may want to attach some post caps on top of the posts to further protect them from the elements.
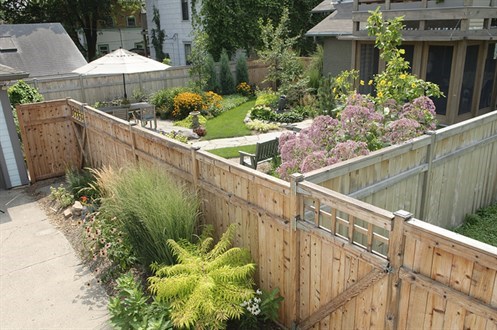
There you have it! You’re new fence is proudly standing after a satisfying job well done. You can protect your fence even more by applying a protective coating before you paint it, just be sure to wait until the fence panel has weathered down slightly first, so that it takes to the panel fully.