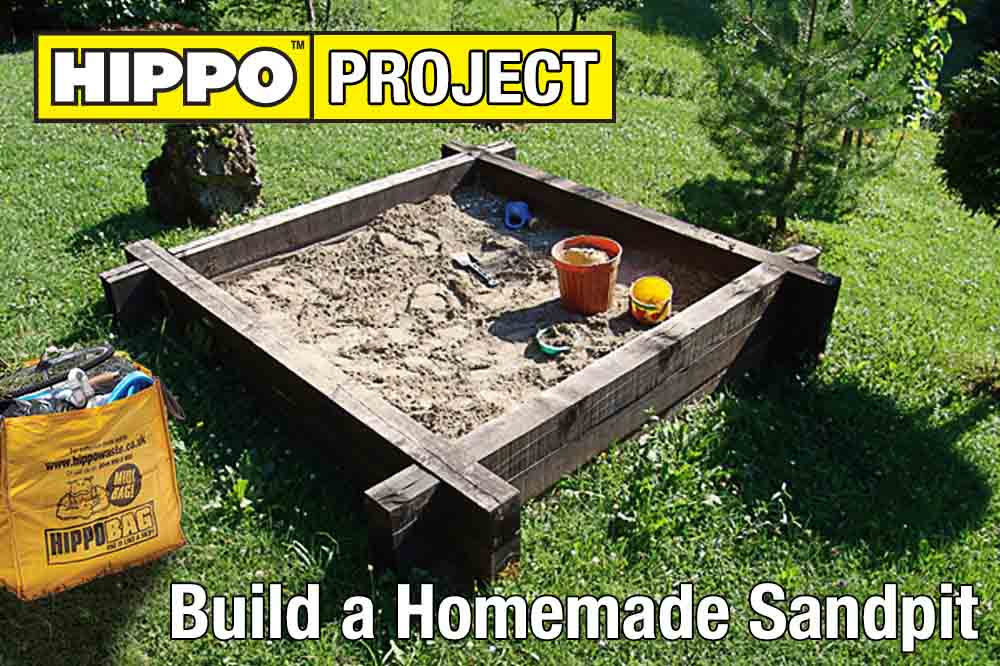
How To Build A Sandpit In Your Garden Your Kids Will Love
Children love the sandpit - it’s fun, interactive and can even be educational. Children learn through doing and the sandpit can inspire imaginative play as well as creativity and problem solving. Encouraging children to build sandcastles and other sculptures can unleash a world of imagination and teach about structure and three dimensional building. Furthermore, the sandpit is a good space to interact and spend some quality time with your children as well as keeping them amused with supervised solo play.
So if your little one loves the sandpit at the playground or school, why not recreate the fun at home – without spending a fortune – by building your very own DIY sandpit. Now is the perfect time to build! Here's our guide so you can build a sandpit in your garden:
Location
Begin by picking a suitable location for the sandpit. Try to pick o position that offers shade for hot summer days, but that you can also easily see from the house. Also consider the drainage in your garden – if possible place the sandpit on high ground so it will naturally drain after rainfall.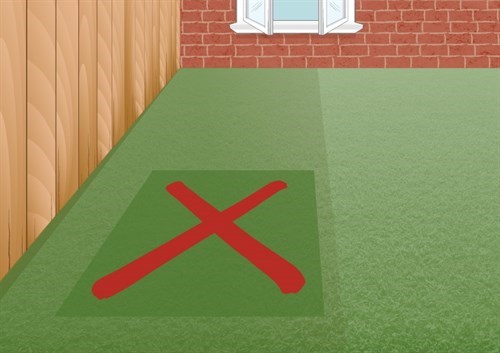
Measure Up
Measure the size of the sandpit you would like and purchase lumber in an appropriate size. Lay the wood on the lawn where you plan for the box to be positioned, and mark the grass along the outside perimeter of the boards. Now dig the sandpit to about eight inches deep before levelling off and compressing the ground underneath.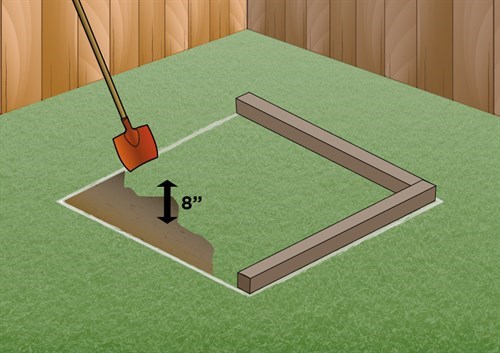
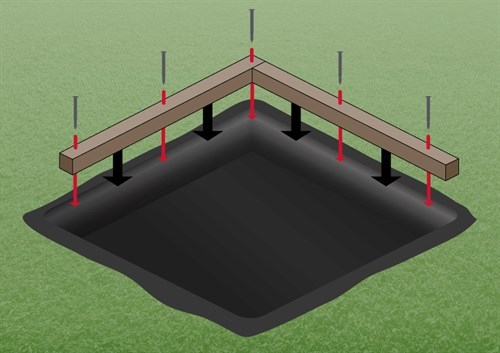
Build
Add the walls to your sand box using a framing square to make sure the corners are at right-angles to one another. Interlock the beams and secure with screws. Make sure this layer is level all round before adding the second layer of wood. 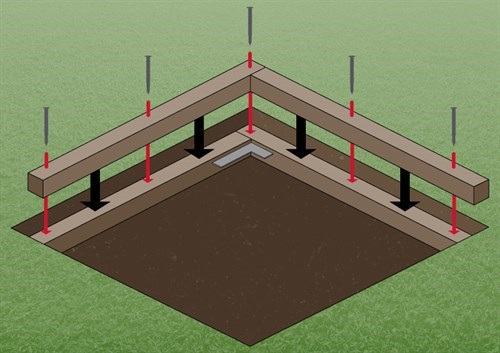
Line the Box
Use landscaping fabric to cover the sandpit. It needs to overlap the edges of the second layer. Leave an opening in the corners so water can drain away when necessary. Secure this by placing a third layer of wood over the lining in the same way you did with the second layer.
Finishing Touches
Trim the edges of the fabric if necessary to keep the outside of the sandpit looking neat and tidy – then fill with sand!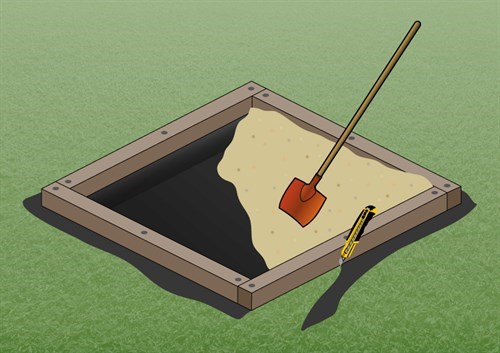
To keep animals out of the sand box it is a good idea to fit a lid over the top. You can build a cover by measuring two solid pieces of wood which can be hinged and flipped open. Now enjoy!
Get creative! Send us a tweet of your sandbox @HIPPOWASTE for a chance to be featured!