How To Plaster a Wall
You might think that plastering a wall is a job best left for the professionals, but with a little bit of preparation and the right tools, you can certainly get stuck in yourself. Here are a few handy tips to follow to get a finish you’ll really be proud of.
First off, the right tools are important for any DIY job, and plastering is no exception. Here are a few essentials you can’t do without:
- Masking tape
- A knife
- Tarp or dust sheets for the carpets
- Dust mask and goggles
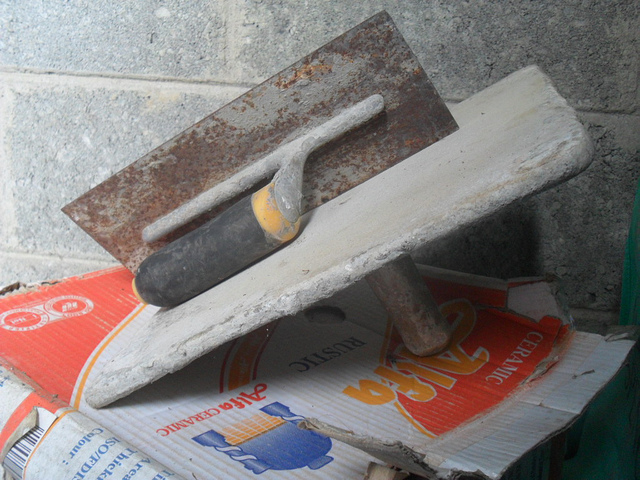
- Trowel and hawk
- PVA glue
- Emulsion roller and tray
- Multi finish plaster
- Bucket to mix in
- Electric drill with plaster whisk attachment
- Bucket of water for washing
- Water spray and cloth
Step One: Prepare the Walls
First off, use masking tape to cover the edge of skirting boards, light fixtures and door and window frames. Use a knife to cut smaller lengths rather than attempting to do it all in one go, it’s less frustrating that way.
When tackling this job, you need to consider the wall that’s being plastered. One of the most important aspects is the ‘suction’ level of the wall. If the wall is too high suction, it will suck all the moisture out of the plaster very quickly, meaning it will dry before you have the chance to properly flatten it. On the other hand, if it’s very low suction, it will make it difficult for the plaster to stay on the wall.
Test your walls by plastering a very small section of the wall, approximately 50mm x 50mm and leave it for a few minutes. Test the spot with your fingers and if it’s still wet then the wall is good to go (as long as the wall isn’t painted…we’ll come to that in a moment)! If, however the test plaster has dried significantly, the wall needs soaking.
If the plaster is still moist but the wall is painted (and the same applies if the plaster has dried out) you will need to prepare the wall to ensure the plaster sticks. Mix one part PVA glue to four parts water in a bucket and use a painting roller to apply this mix over the entire wall, this will make sure that the plaster stays were it should. Let this mix dry before starting to plaster.
Step Two: Prepare the Plaster
You’ll need to prepare the plaster by putting on a dust mask and mixing it with water. Seek advice from the supplier or have a look on the packaging to make sure you have enough to cover the area that you’re working on. Open a window when mixing to let any excess plaster dust out, and remember to add the powdered plaster mix to the water, not the other way around. Ideally, get someone to help so that one of you can use the drill and whisk and the other can slowly add the plaster. Keep going until the mix is similar in consistency to thick custard. It’s a good idea at this point to have another bucket of clean water at hand to immediately clean off tools before it hardens.
Step Three: Get Plastering
Once the plaster is the right consistency, it’s time to get stuck in on the plastering itself. This can be daunting, but keep a level head and relax into the job. Load up the plaster hawk and practice transferring the plaster to and from the trowel to get a feel for the action. Push up from the bottom and lean the hawk in to the trowel. Scoop it off and apply the plaster with long, smooth strokes to keep the coating as even as possible. If the wall is pulling the plaster in then use a water spray to keep the wall moist. Any bubbles will be covered with the finish coat, but it’s important to keep the surface as smooth as you can. Remember to not allow the tools you’re using to become dry, so keep that water spray handy!
Once you’re happy that the first coat is as smooth as possible, it’s time to prepare the finish coat whilst waiting for the first to settle. You want to wait 20 minutes or so, so that the first coat has a tacky feel to it, but is still ever so slightly damp. The second coat of plaster should be a thinner consistency than the first, and easier to apply, aim to have it 1-2mm think. Fill any imperfections as you go with the finish coat and trowel away any excess plaster. ‘Cut in’ around all the edges and frames and that should be that!
Allow 1-2 days in the summer or 3-5 in the winter for the walls to dry.
And there you have it; you’ve braved a tricky job, saved yourself a bit of cash and should have some great results!