Raised Bed Allotmenting Guide: Benefits and How to Get Started
Raised beds are all the rage in allotmenting, as well as in gardening more generally at the moment. But will they be right for your plot? Here, we’ve looked into the advantages and disadvantages of raised beds, as well as a simple guide on how to build your own.
Raised beds were originally created to allow more room for planting, as a raised, curved bed has a larger surface area than a flat one, meaning more space to plant crops. However, when it rained heavily, these areas would often drain away onto the paths around them. The ingenious solution was a raised bed as we know it today, with boundaries around the edges to keep the soil inside, giving plants their own little segregated spot.
Why bother with raised beds?
There are lots of good reasons to use a raised bed. One of the biggest benefits is that your topsoil will be deeper and of a better quality. If the soil on your allotment is poor, creating a raised bed with added compost and nutrients mixed in, allows you to gain a far greater yield from your crops.

With a segregated raised bed, you can create the perfect environment for each plant in your allotment and concentrate good compost around those plants that need it. Ensure that the soil in your raised bed is at least 6 inches deep, then add the appropriate nutrients and fertilisers to suit the plants that you’re growing in that area. Plants in a raised bed will also be able to be grown closer together, as the soil is deeper and there is more space for root growth downwards from each plant.
Have you got a bad back? If so, raised beds are a perfect way to ease this issue. A foot or so might not seem like much, but when you’re constantly bending down that bit less to tend to your plants, you really will notice the difference. The soil in a raised bed also drains far better than ground soil, allowing it to be worked earlier in the year. It’s also more workable in wet and cold months as it warms up and dries out more quickly than ground soil.
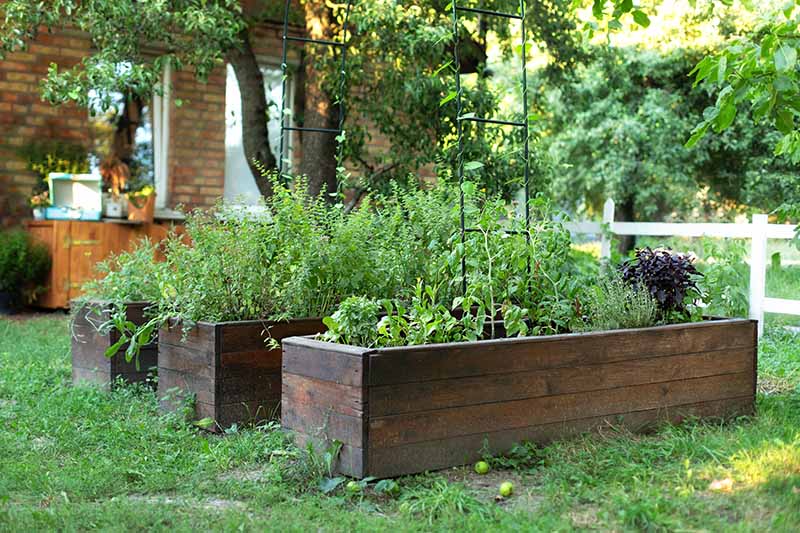
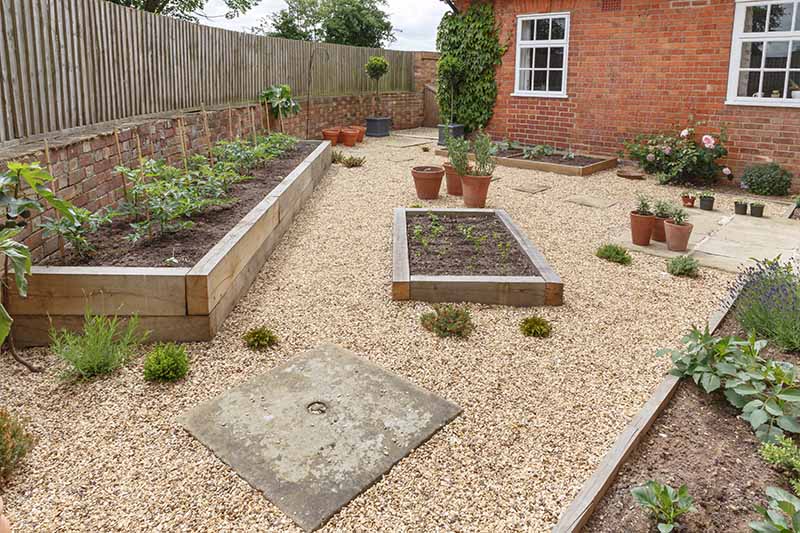
Another great advantage of a raised bed is how it looks. A well-made raised bed is neat, tidy and professional looking, as well as segregating your plot into smaller, easier to maintain patches which won’t need fully digging out like a normal allotment plot does. Build your raised bed with high walls, and you can even create a sheltered area for more fragile or shade-loving plants.
You’ll also find that the problem of weeds, slugs and diseases will be limited by using raised beds, as with less space between plants, it will be more difficult for weeds to take hold. Slugs and diseases tend to thrive in sodden, poorly drained areas, so these will also be less of a problem on a raised bed. In addition, the necessary paths between plots provide the welcome bonus that your plants won’t become victims of trampling feet, and your soil will not become overly compacted.
Things to bear in mind:
Although raised beds are a neat, tidy and efficient way to garden, there are certain drawbacks to this method. It’s important to bear in mind that, although plants can be grown closer together in raised beds, you will need more pathways when using them, so that you can reach every crop separately without treading on and compacting the soil. This means that you won’t necessarily end up growing more plants overall on a raised allotment.
Another potential drawback is that – although low maintenance once they’re done - raised beds can be fairly hard work to build initially. Take a look at the guidance on how to build one at the end of this article, and if you don’t fancy it, why not call in a professional to get the hardest bits done for you?
Finally, although a well-drained bed is more workable and less susceptible to diseases and slugs, it will also dry out quicker, so you’ll need to water crops in a raised bed more.
Tempted to try it yourself?
Despite the potential difficulties around raised beds, it’s hard to deny that they’re low maintenance, as well as looking great and providing ideal, sheltered and deep areas for your plants to grow in. So, if you fancy a go yourself, take a look at this quick how-to for the basics!
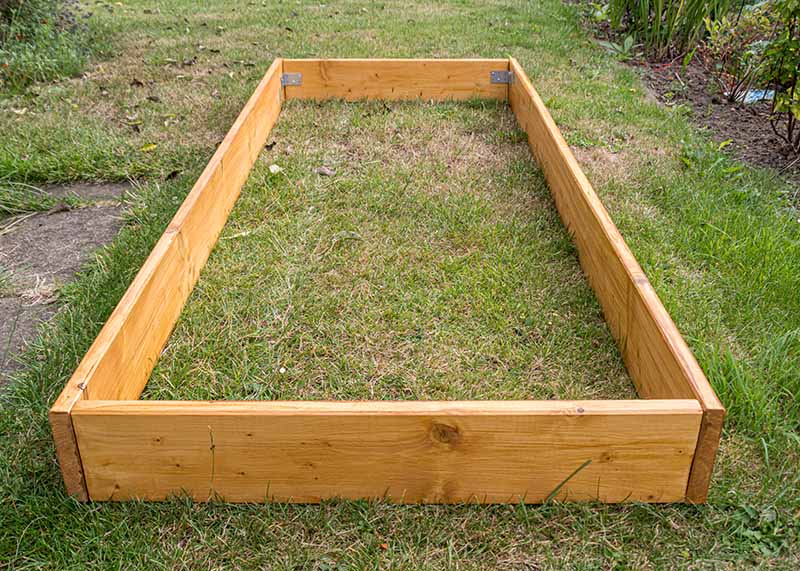
Firstly, you’ll need some non-treated wooden planks to act as the sides of your box and thick square posts to reinforce the corners. You’ll also need landscape fabric, as well as screws, a saw, a drill, a spirit level and a spade.
The basic procedure is simple, just dig into the ground slightly where your bed will be, ensure it is level then cover it in landscape fabric and build a deep container in which to house your raised bed. Once you’ve filled it with soil, you’re good to go. A good estimate for the size of a bed is around 3 by 5 feet, as this will mean that you can reach the plot from every angle, and it’ll be large enough for a good number of plants to grow.
For a great guide to constructing a rectangular raised bed out of wood, watch this video below from YouTuber Down To Earth With Jim.
So there you have it, a comprehensive guide to the pros and cons of a raised bed, as well as how to get stuck in of you want to use this ingenious method for yourself! If you’ve got a bad back, tough soil or issues with pests, a raised bed could be the perfect solution to your allotment woes, so why not give it a try?